In this article, I will provide a detailed guide on how to import appliance in VirtualBox.We’ll walk you through each process step, ensuring a smooth import experience.
Table of Contents
1.Go to the location where you have downloaded the OVA file and double-click on it:


2. Check the OVA file location and expand the setting section:
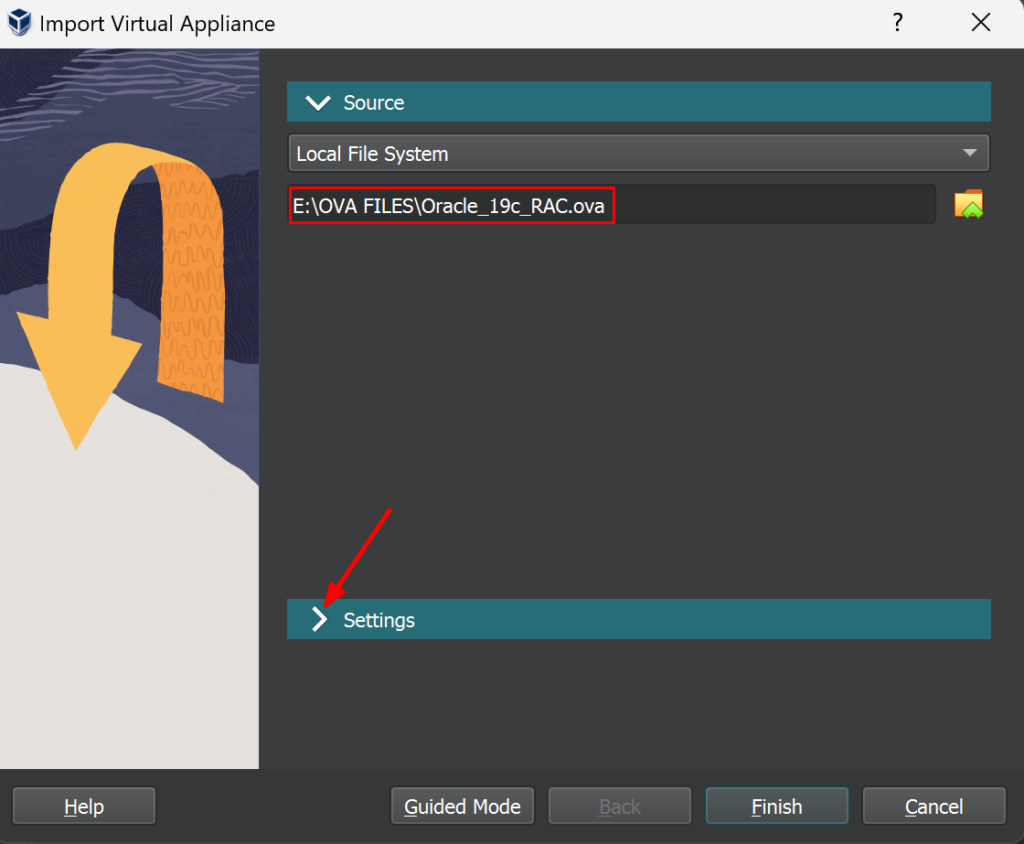

3. Update the Settings:
Under Settings, Keep all as it is. Please note that if you do not have much CPU, you can decrease the number from 4 to 2. The important thing is that you have to choose the MAC Address Policy “Include all network adapter MAC addresses” so that you do not have to configure the MAC addresses manually. If this Policy is not working for you then you can select “Generate new MAC addresses for all network adapters” and configure the MAC addresses manually by following my other articles NODE1 network configuration and NODE2 network configuration.
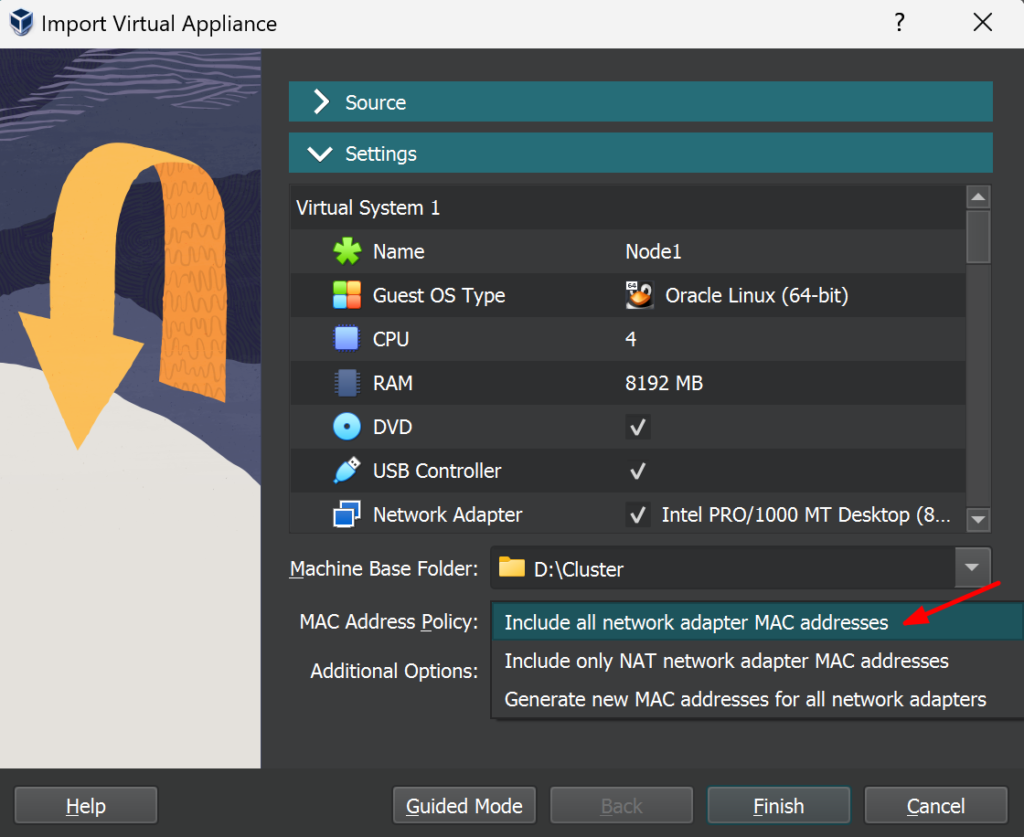

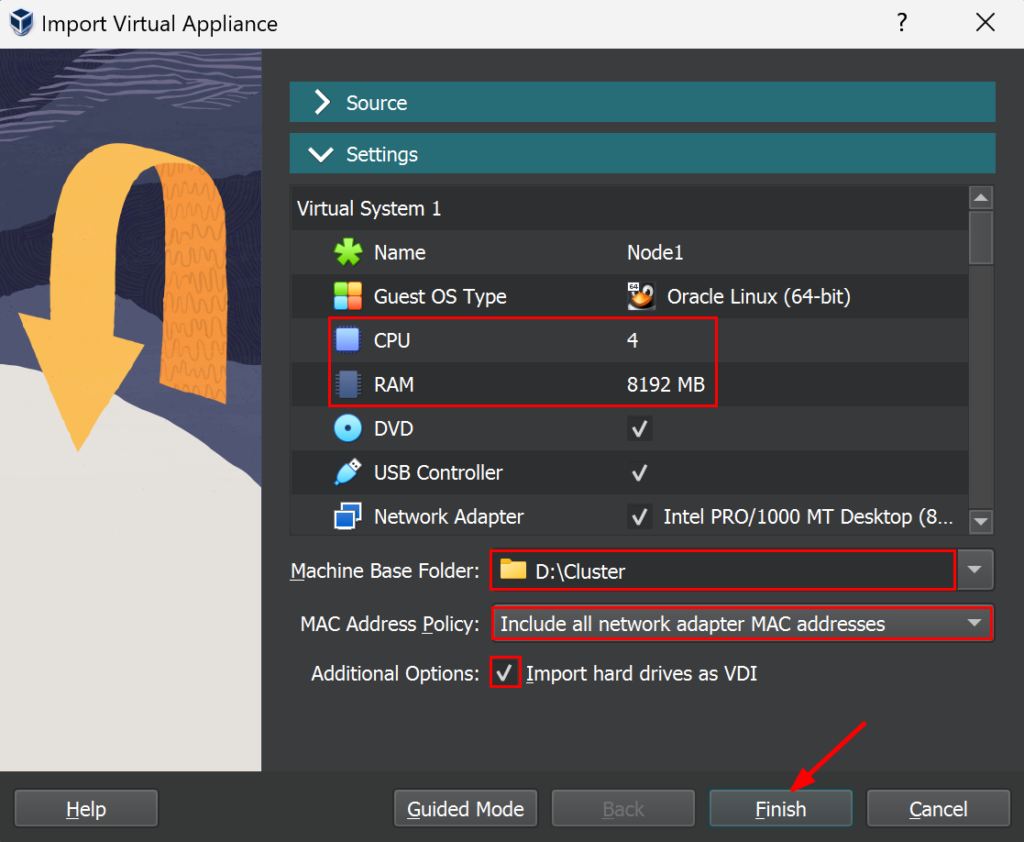
4. Now crosscheck the details and click on finish to import OVA file in VirtualBox :

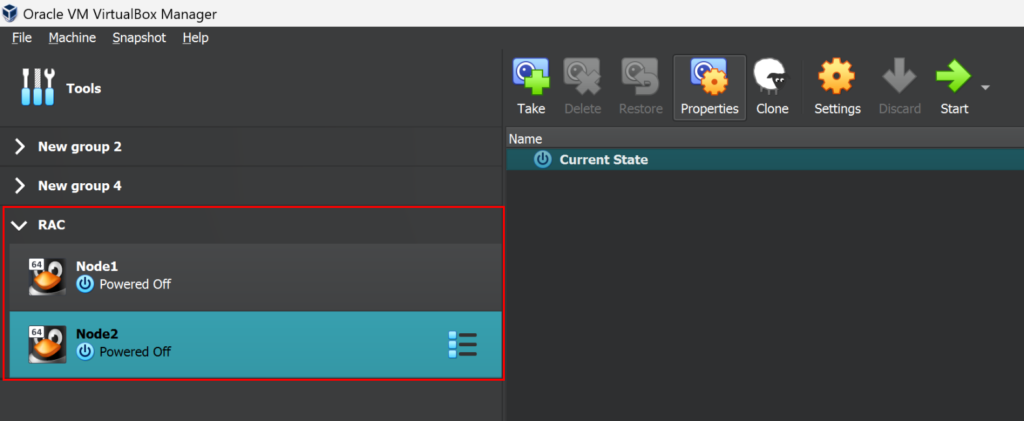
5. We will see a group called “RAC” will be created and under that group, both node1 and node2 will be created.



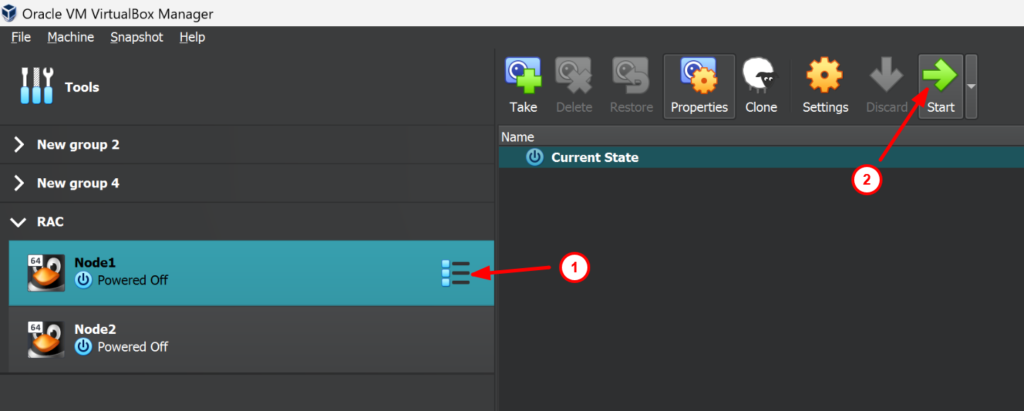
6. Now start the nodes (Node1 and Node2) one by one:

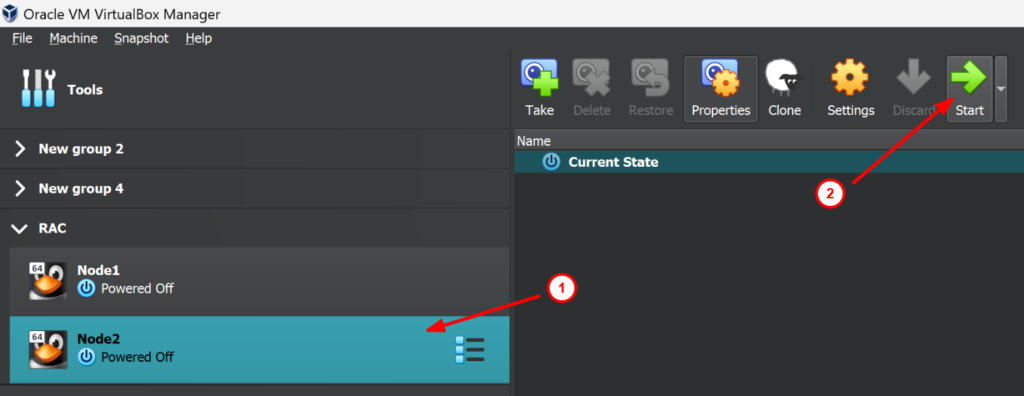

7. Now both the nodes are up and running. It is time to connect to the servers 192.168.56.11 and 192.168.56.12 through Putty:
NODE1:
login as: root
root@192.168.56.11's password:root123
Last login: Sat Jun  8 02:55:22 2024 from 192.168.56.1

[root@node1 ~]# ps -ef|grep pmon
grid      5115     1  0 11:08 ?        00:00:00 asm_pmon_+ASM1
oracle    7126     1  0 11:09 ?        00:00:00 ora_pmon_racdb1
root     12840  5069  0 11:10 pts/0    00:00:00 grep --color=auto pmon

[root@node1 ~]# . oraenv
ORACLE_SID = [root] ? +ASM1
The Oracle base has been set to /u01/app/grid

[root@node1 ~]# crsctl check crs
CRS-4638: Oracle High Availability Services is online
CRS-4537: Cluster Ready Services is online
CRS-4529: Cluster Synchronization Services is online
CRS-4533: Event Manager is online
NODE2:
login as: root
root@192.168.56.12's password:root123
Last login: Sat Jun  8 02:55:35 2024 from 192.168.56.1

[root@node2 ~]# ps -ef|grep pmon
grid      5088     1  0 11:08 ?        00:00:00 asm_pmon_+ASM2
oracle   12024     1  0 11:09 ?        00:00:00 ora_pmon_racdb2
root     15122  5755  0 11:10 pts/0    00:00:00 grep --color=auto pmon

[root@node2 ~]# . oraenv
ORACLE_SID = [root] ? +ASM2
The Oracle base has been set to /u01/app/grid

[root@node2 ~]# crsctl check crs
CRS-4638: Oracle High Availability Services is online
CRS-4537: Cluster Ready Services is online
CRS-4529: Cluster Synchronization Services is online
CRS-4533: Event Manager is online
Congratulations! We have successfully imported the RAC appliance into VirtualBox.